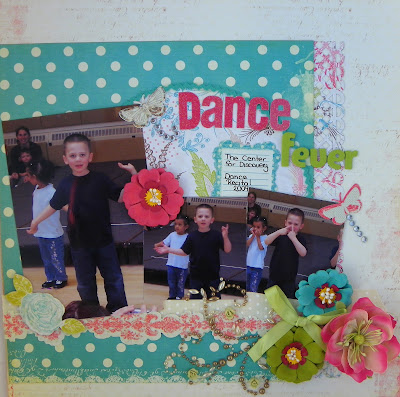
This is Lucas during his Spring Dance show at daycare. They did a tap dance number...it was really cute.
The papers are the the MyCreativeScrapbook kit for March.

 This was the first layout that I completed with the Addicting Paper kit for May. I love this new line by Cosmo Cricket, ooh heck I love every line from Cosmo Cricket.
 This layout was done with March's kit from My Creative Scrapbook, the products that were featured were from Jenni Bowlin Studio. This is the first time that I have ever worked with an array of her products and I have to say I do like them.


 The main kit includes:
 Paper Add-on includes
 Embellishment Add-On:
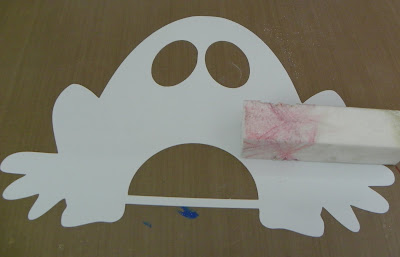
 Second, cut out your object. Remember PolyShrink, shrinks, so make it significantly larger then you want the final product.
 Third, sand the PolyShrink. This allows you to be able to color on it.
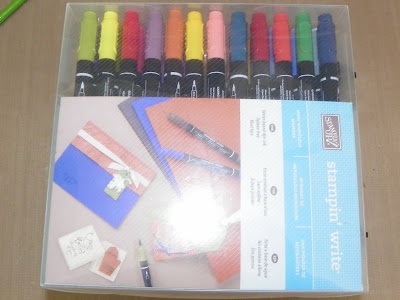
 Fourth, color and draw any lines that need to be on the embellishment.
 Fifth, Shrink! It will look very weird while it is shrinking, and sometimes you will think that is ruined but it will flatten out.
 Sixth, apply something heavy to it to flatten it out.
 This is the difference in the size from the original cut out to what was left after it was shrunk.
 And here is the final product, with the decorations.
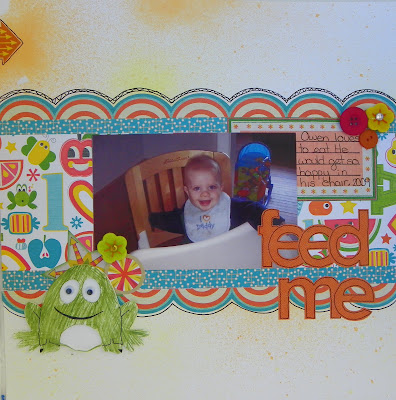
 This is the layout I I made using the frog. The sketch is from Sketch Inspiration, and is #114. I also used Sassafras Lass' collection Me Likey.


 This is my first mini album that I have ever done. I really enjoyed working on this. It is a gift for my father and step-mother, for their anniversary, even though it is a little late. I used the Maya Road Chipboard album, and the Creative Kit from My Creative Scrapbook, with the album from the Mini Album kit. the papers and embellishments are from Little Yellow Bicycle as well as my stash. I hope you enjoyed looking. Krystal
 This is the layout that I put together for my Guest Designer Spot on Creative Scrappers, which is based on the sketch below. I am so excited that I got choose to be a guest designer! And loved helping to celebrate Creative Scrappers Birthday!